Niagara LiDAR Point Cloud Plugin Documentation
Plugin available on fab.com
This plugin allows you to visualize LiDAR point cloud data in Unreal Engine using Niagara particle systems, providing both GPU and CPU-based implementations for flexible performance and visual fidelity.
Overview
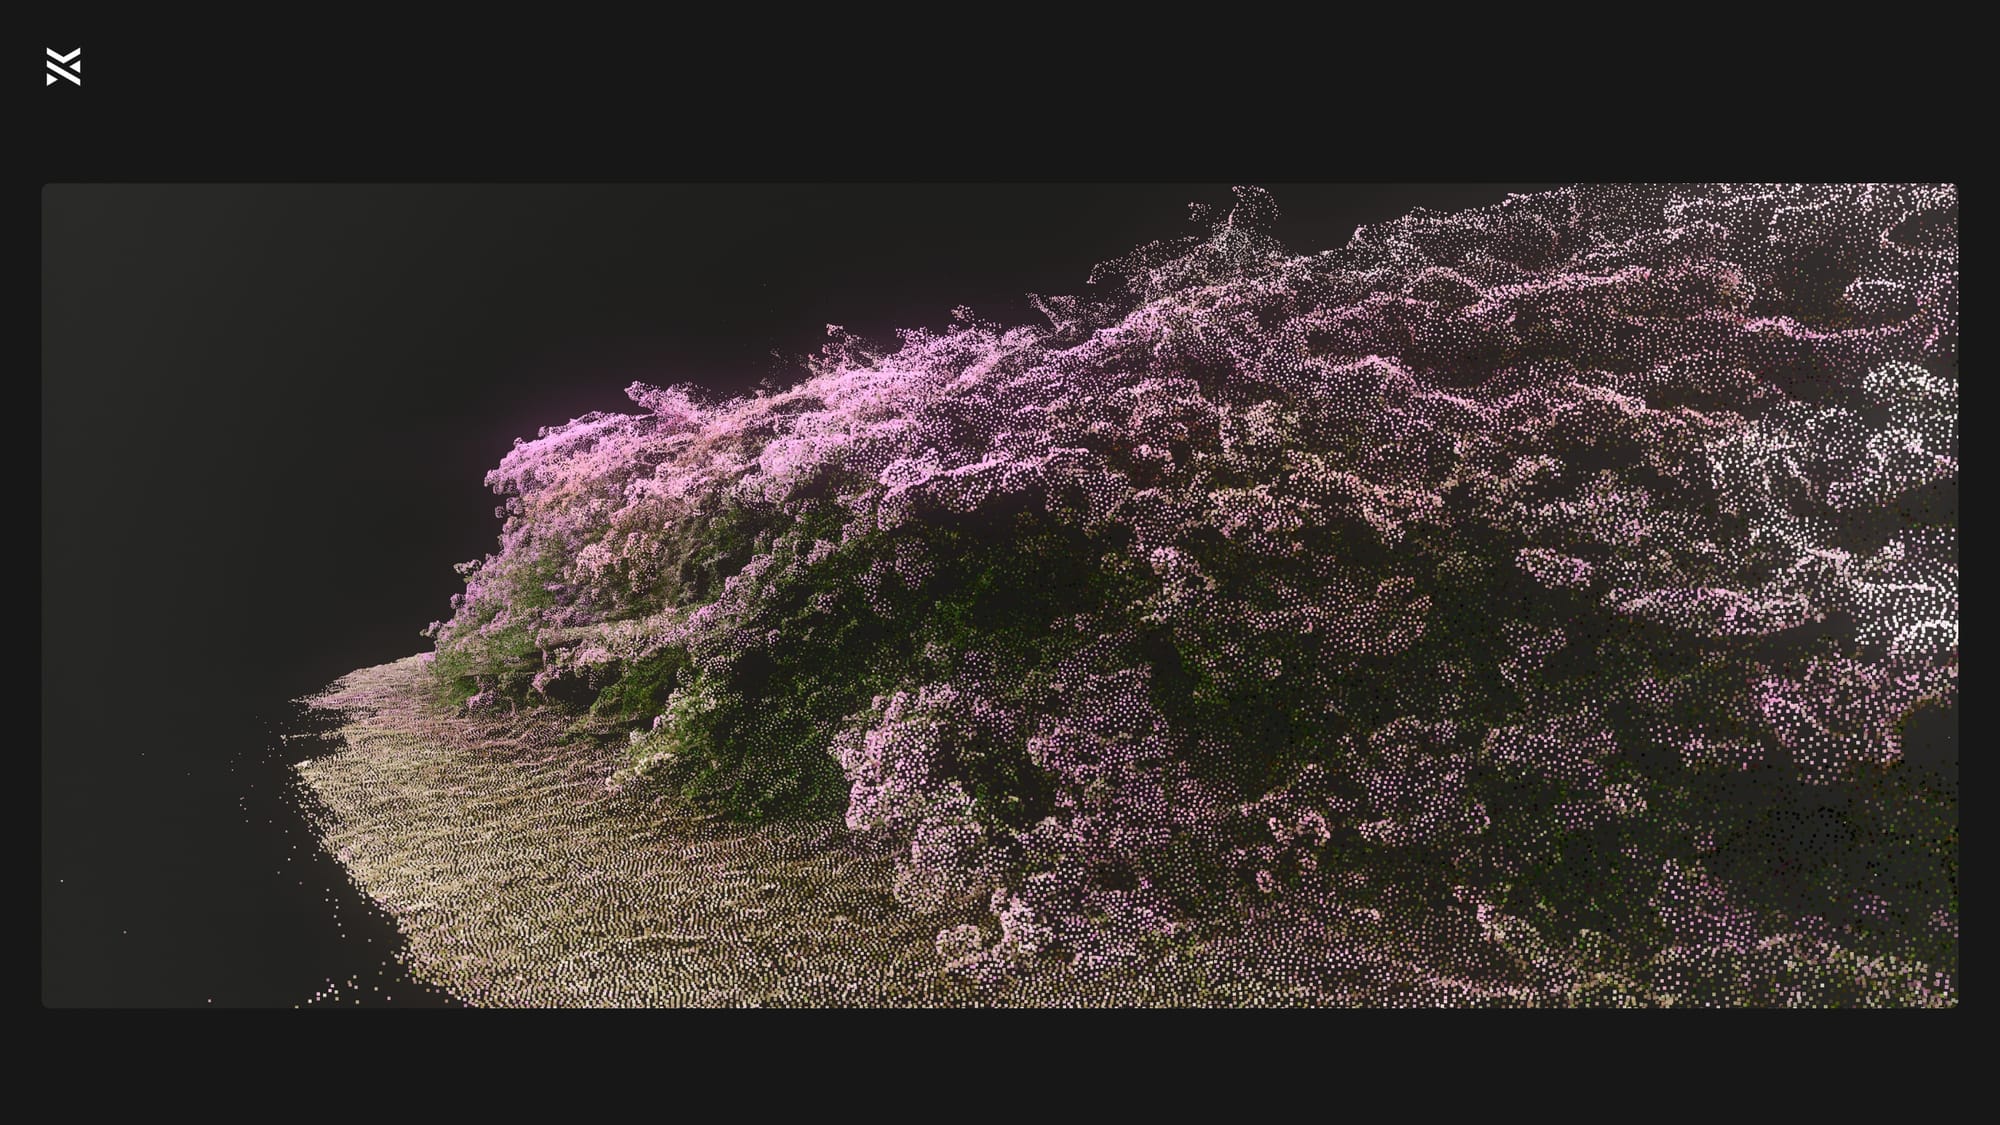
The plugin integrates with the native ULidarPointCloud assets, enabling users to render and manipulate large point cloud datasets using Niagara emitters. You can generate textures to sample colors and positions in GPU emitters or leverage data interfaces for CPU operations and emitters, making this a versatile tool for many visualization tasks.
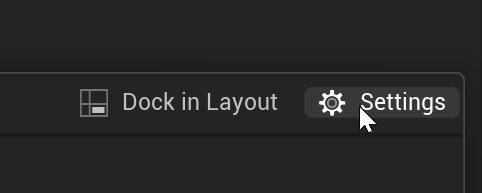
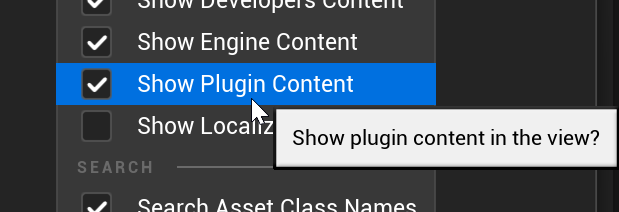
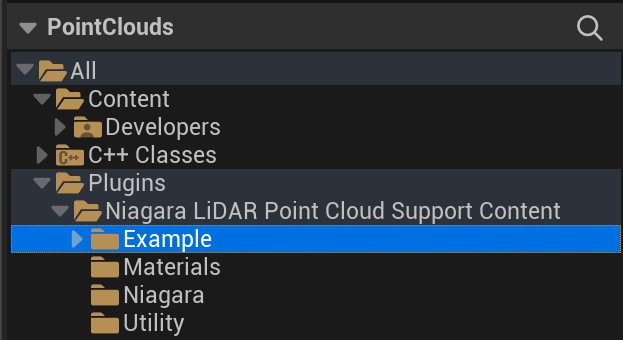
Example Maps are included in the plugin’s content folder.
Ensure you enable Settings → Show Plugin Content to see them properly.
Key Features:
- Full integration with the native UE5 ULidarPointCloud assets.
- Supports both GPU and CPU Niagara emitters.
- Utility Blueprints for easy texture generation from point cloud data with a single click of the button.
Installation and Setup
Step 1: Enable Native Plugin
Begin by enabling the native "LiDAR Point Cloud Support" plugin in Unreal Engine. This plugin is required for managing and visualizing point cloud data.
Step 2: Enable Niagara Lidar Point Cloud Plugin
Enable the Niagara Lidar Point Cloud Plugin from the Plugins menu. Copy the folder containing the .uplugin to your Project's Plugins folder or install via the Epic Launcher.
Step 3: Import Point Cloud Files
Drag and drop your .LAS or .LAZ files into the Unreal content browser to create ULidarPointCloud assets.
Step 4: Generate Textures for GPU Emitters (Optional)
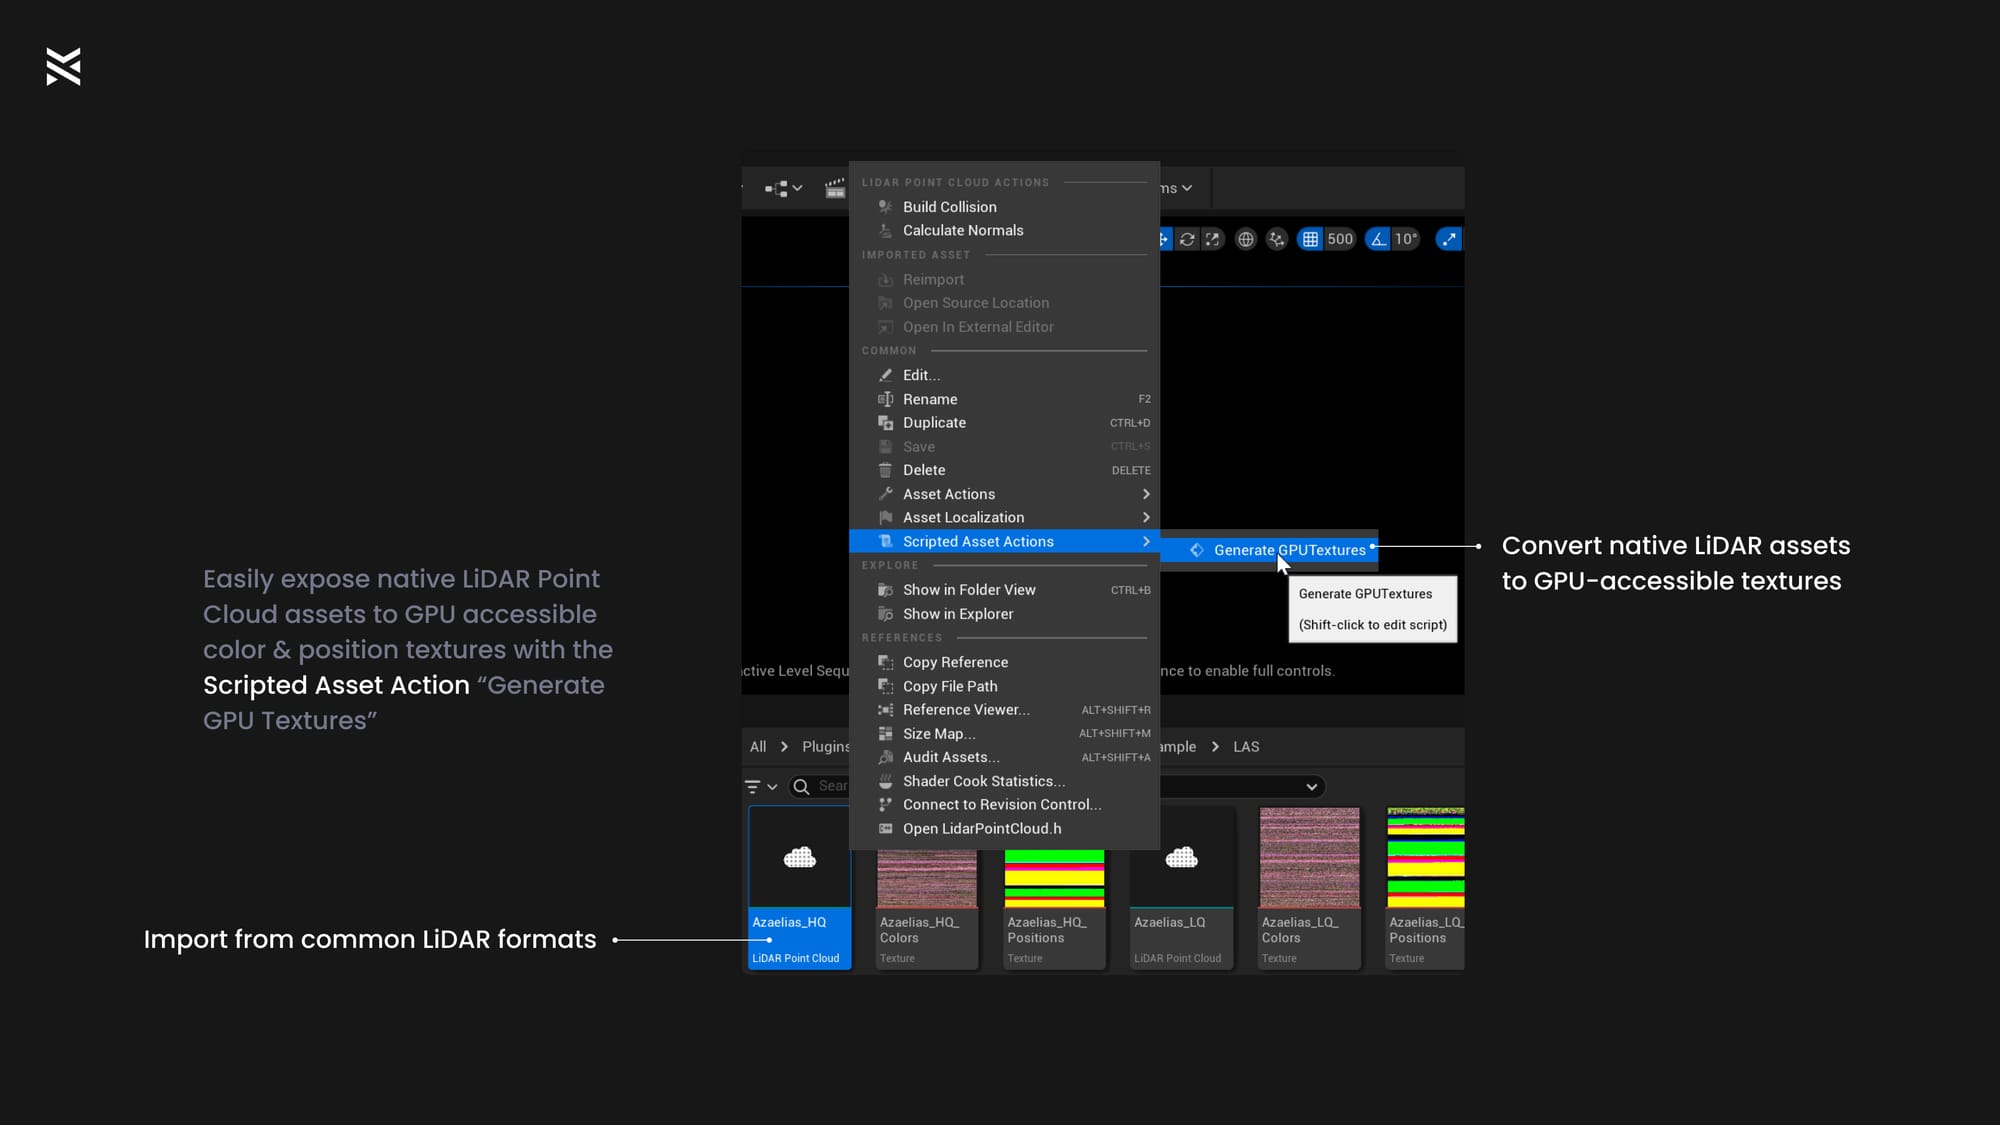
To use GPU-based Niagara systems, emitters, modules and scripts, your Point Cloud asset needs to have generated color and position textures:
- Right-click the ULidarPointCloud asset in the content browser.
- Select Generate GPU Textures under Scripted Asset Actions.
These generated textures should be used in GPU emitters to sample particle positions and colors.
Using the Plugin in Niagara
Creating a New Niagara System
You can use pre-built emitters or create your own systems:
- Using Parent Emitters: Right-click in the Niagara Systems window, select New System from Selected Emitter(s), and choose either
PointCloud_CPUorPointCloud_GPUas a parent emitter. Don't forget to assign your Point Cloud asset to the user parameter. - Example Niagara Systems: Drag and drop the provided Niagara Systems (
NS_PointCloud_CPU,NS_PointCloud_GPU) into your scene, then assign the necessary Point Cloud and Texture assets (for GPU emitters).
Example Maps
PointClouds_Example: Demonstrates artistic features like physics, noise, and dynamic spawning.
PointClouds_Morph: Shows morphing between two point clouds for a visually appealing transition.
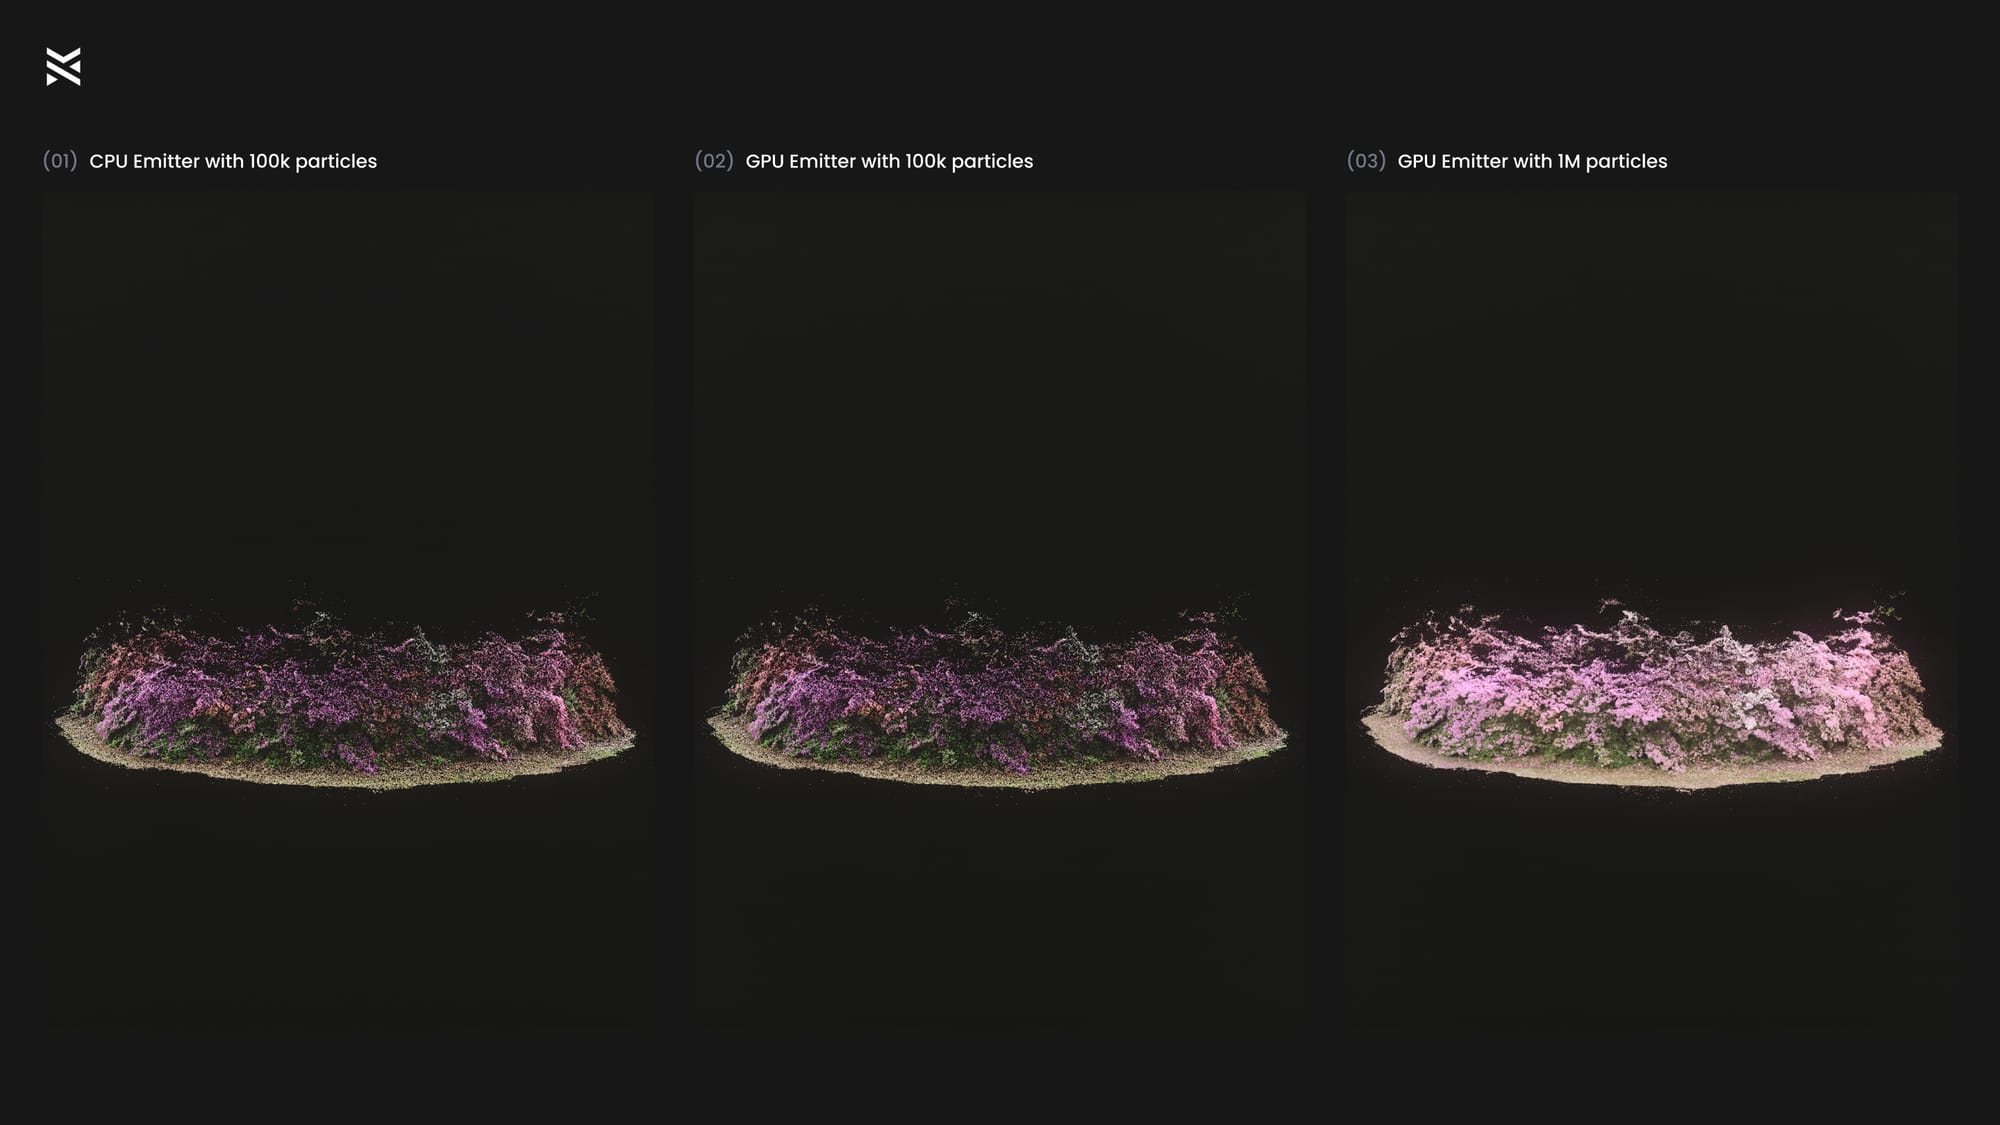
PointClouds_Overview: Compares different configurations, including GPU vs. CPU and high vs. low particle counts.
Utility Functions and Blueprint Tools
The plugin offers a set of Blueprint Utility Functions for preparing point cloud data for use in Niagara.
CreatePointCloudColorsTexture
This function generates a texture containing RGB color data for each point in the cloud, specifically for use in GPU workflows.
CreatePointCloudPositionsTexture
Generates a texture that contains XYZ coordinates of each point. This texture allows GPU emitters to sample accurate point positions.
Both of these functions are accessible via the NiagaraLidarPointCloudBPLibrary and can be called directly from the Editor.
Performance Guidelines
When choosing between CPU and GPU emitters:
- Use CPU Emitters for smaller datasets (up to 200k points) or when you need direct interaction with CPU-based elements (e.g., lights). CPU emitters are ideal for effects that require CPU interactions, such as spawning lights.
- Use GPU Emitters for large, visually complex point clouds (up to 2 million points) where performance is a concern. GPU emitters are best for dense visual effects without CPU interactions.
Both CPU and GPU workflows have the same visual fidelity, with performance trade-offs depending on your use case. For example, you could use a CPU emitter to position lights at random locations within a cloud, while using a GPU emitter to visualize millions of points.
Materials Overview
The plugin includes several material options:
- Round vs. Square: Defines the shape of each particle—either as a round point or a square sprite.
- Additive vs. Lit: Determines whether particles use additive blending or are lit by scene lights.
Users can modify or create new material instances to customize their effects as needed.
Custom Niagara Scripts
The plugin provides custom Niagara Scripts that extend the functionality of Niagara systems to work with point cloud data.
Key Scripts
- GetPixelValue_GPU: Used to read generated GPU textures for point positions and colors.
- ApplyPointCloudBounds_CPU: Adjusts the Niagara System's bounds to match the point cloud asset, ensuring proper culling.
These scripts are used to ensure the Niagara System and the point cloud interact seamlessly, providing an optimized and accurate visualization.
Further Customization
Feel free to modify the materials and Niagara emitters provided to match the specific needs of your project. This plugin is highly flexible, and its integration with Unreal's Blueprint and Niagara systems allows you to create truly unique visual effects.
FAQ
Q: Can I use my own point cloud data with this plugin?
- Absolutely, simply drag and drop your
.LASor.LAZfiles into Unreal, generate GPU textures if needed, and follow the setup guide to use your own data.
Q: I don’t see the point cloud or the cloud doesn’t move?
- Press “Play In Editor (PIE)” or select the particle system and press “Reset”