

NanoLook Documentation
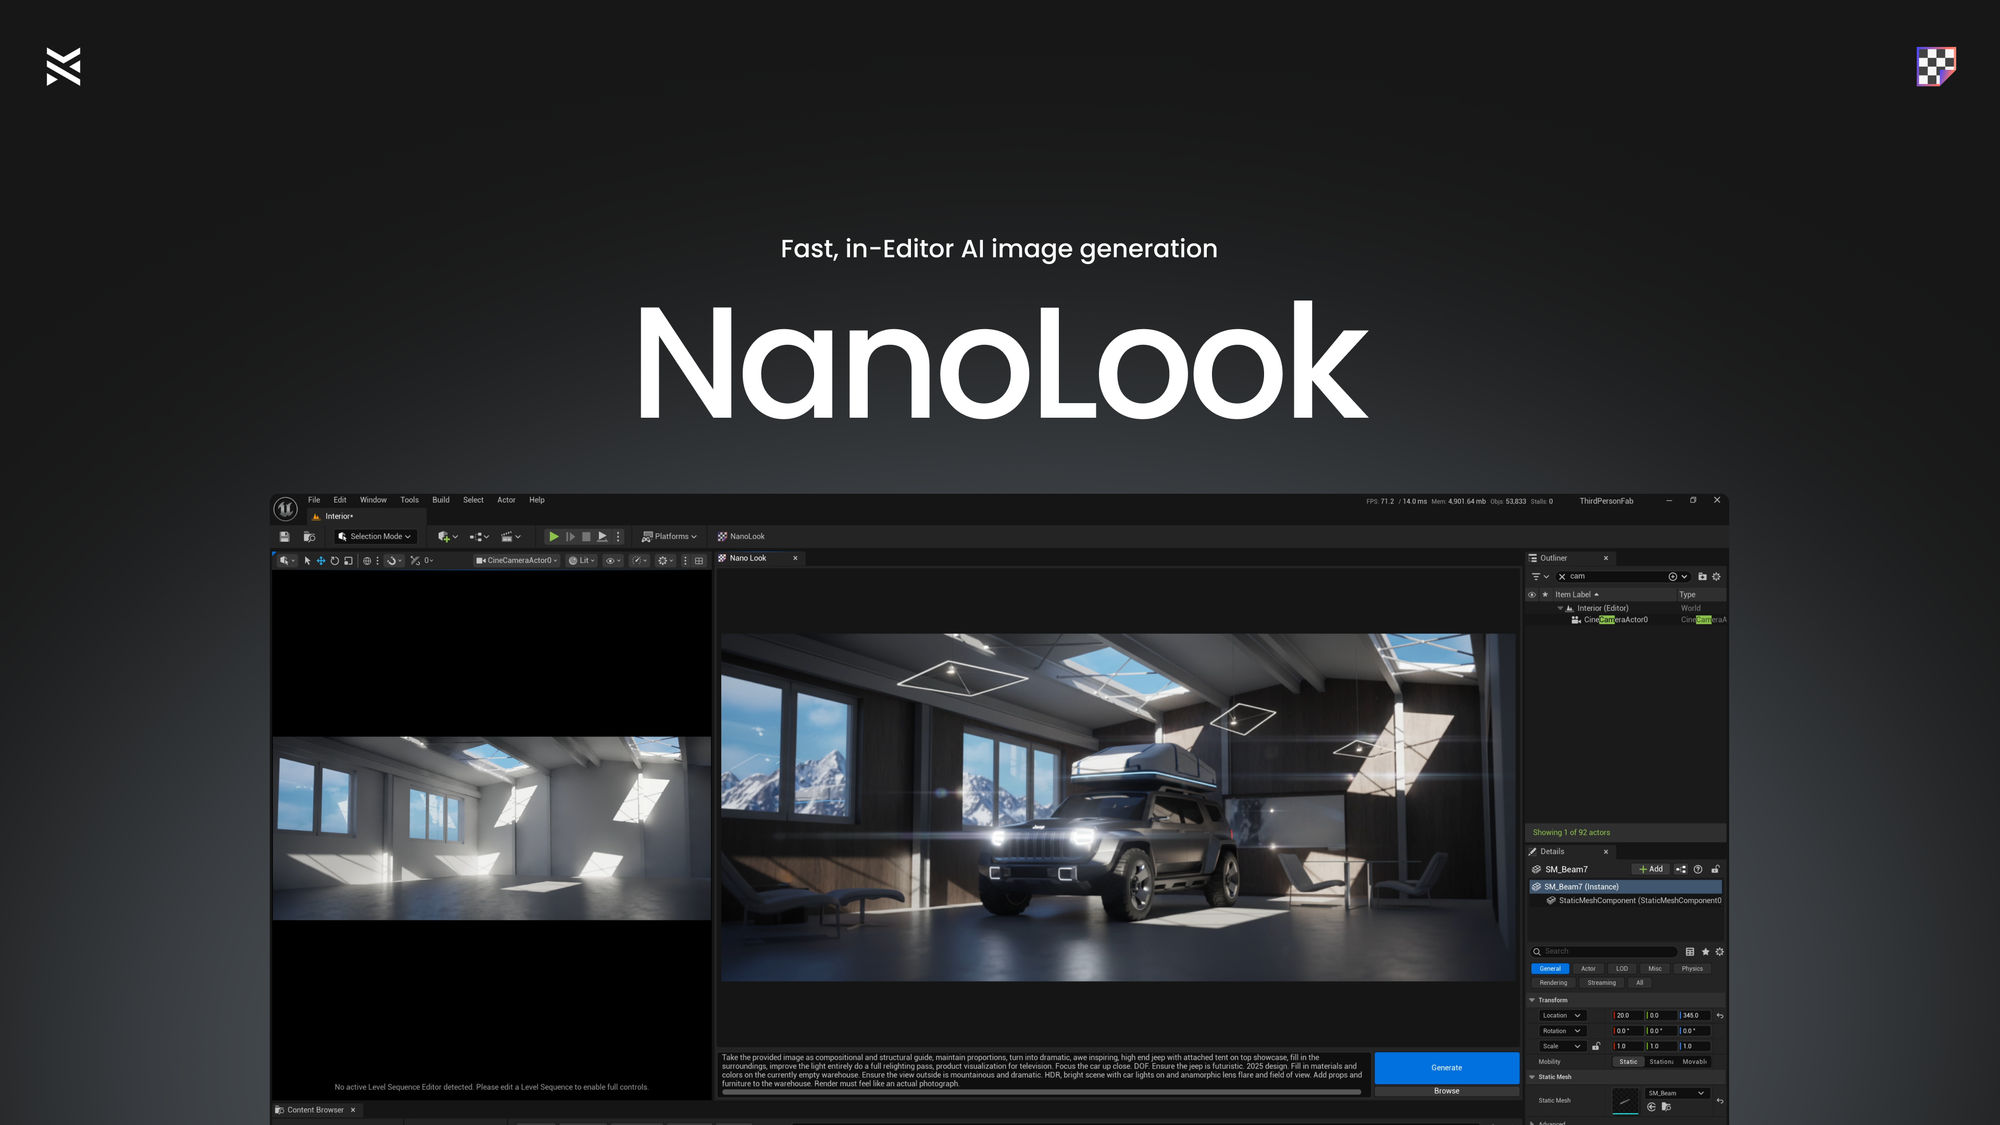
Plugin available on fab.com
NanoLook captures your active Unreal viewport, sends it with a text prompt to a Gemini or OpenAI image model using your own API key, and previews the generated result in a dockable panel, then saves it to disk. Editor-only.
Setup
Installation
Fab (Epic Games Launcher)
- Install NanoLook via Fab; the Launcher provides prebuilt binaries for your engine version.
- Open your UE5 project and enable NanoLook in Edit → Plugins if it isn't already.
- Restart the editor if prompted.
Get an API key
NanoLook uses your own key so nothing is proxied through a third-party server.
- Gemini — create a key at Google AI Studio.
- OpenAI — create a key at OpenAI Platform with image-generation access.
You need a key for whichever provider you set as active; you can configure both and switch between them.
Configure
- Open Edit → Project Settings → Plugins → NanoLook.
- Set the Active Provider (Gemini or OpenAI).
- Paste your key into the matching Gemini API Key or OpenAI API Key field.
- Optionally change the model name or the Generated Images Folder.
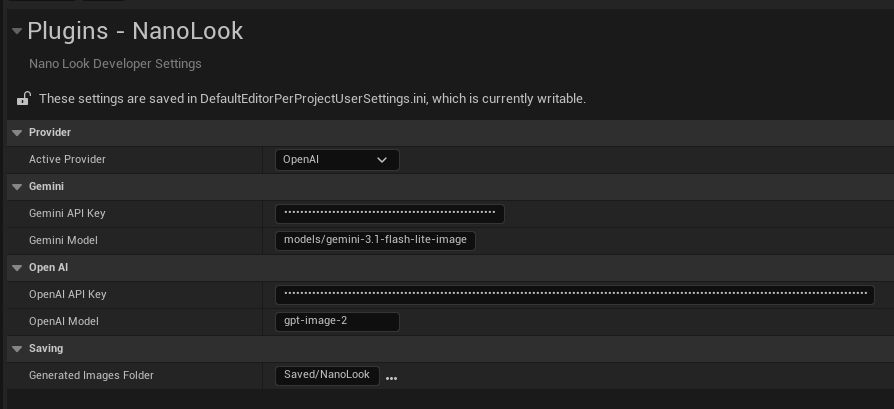
Keys are stored per-user in EditorPerProjectUserSettings and persist across editor restarts.
Usage
Open the panel
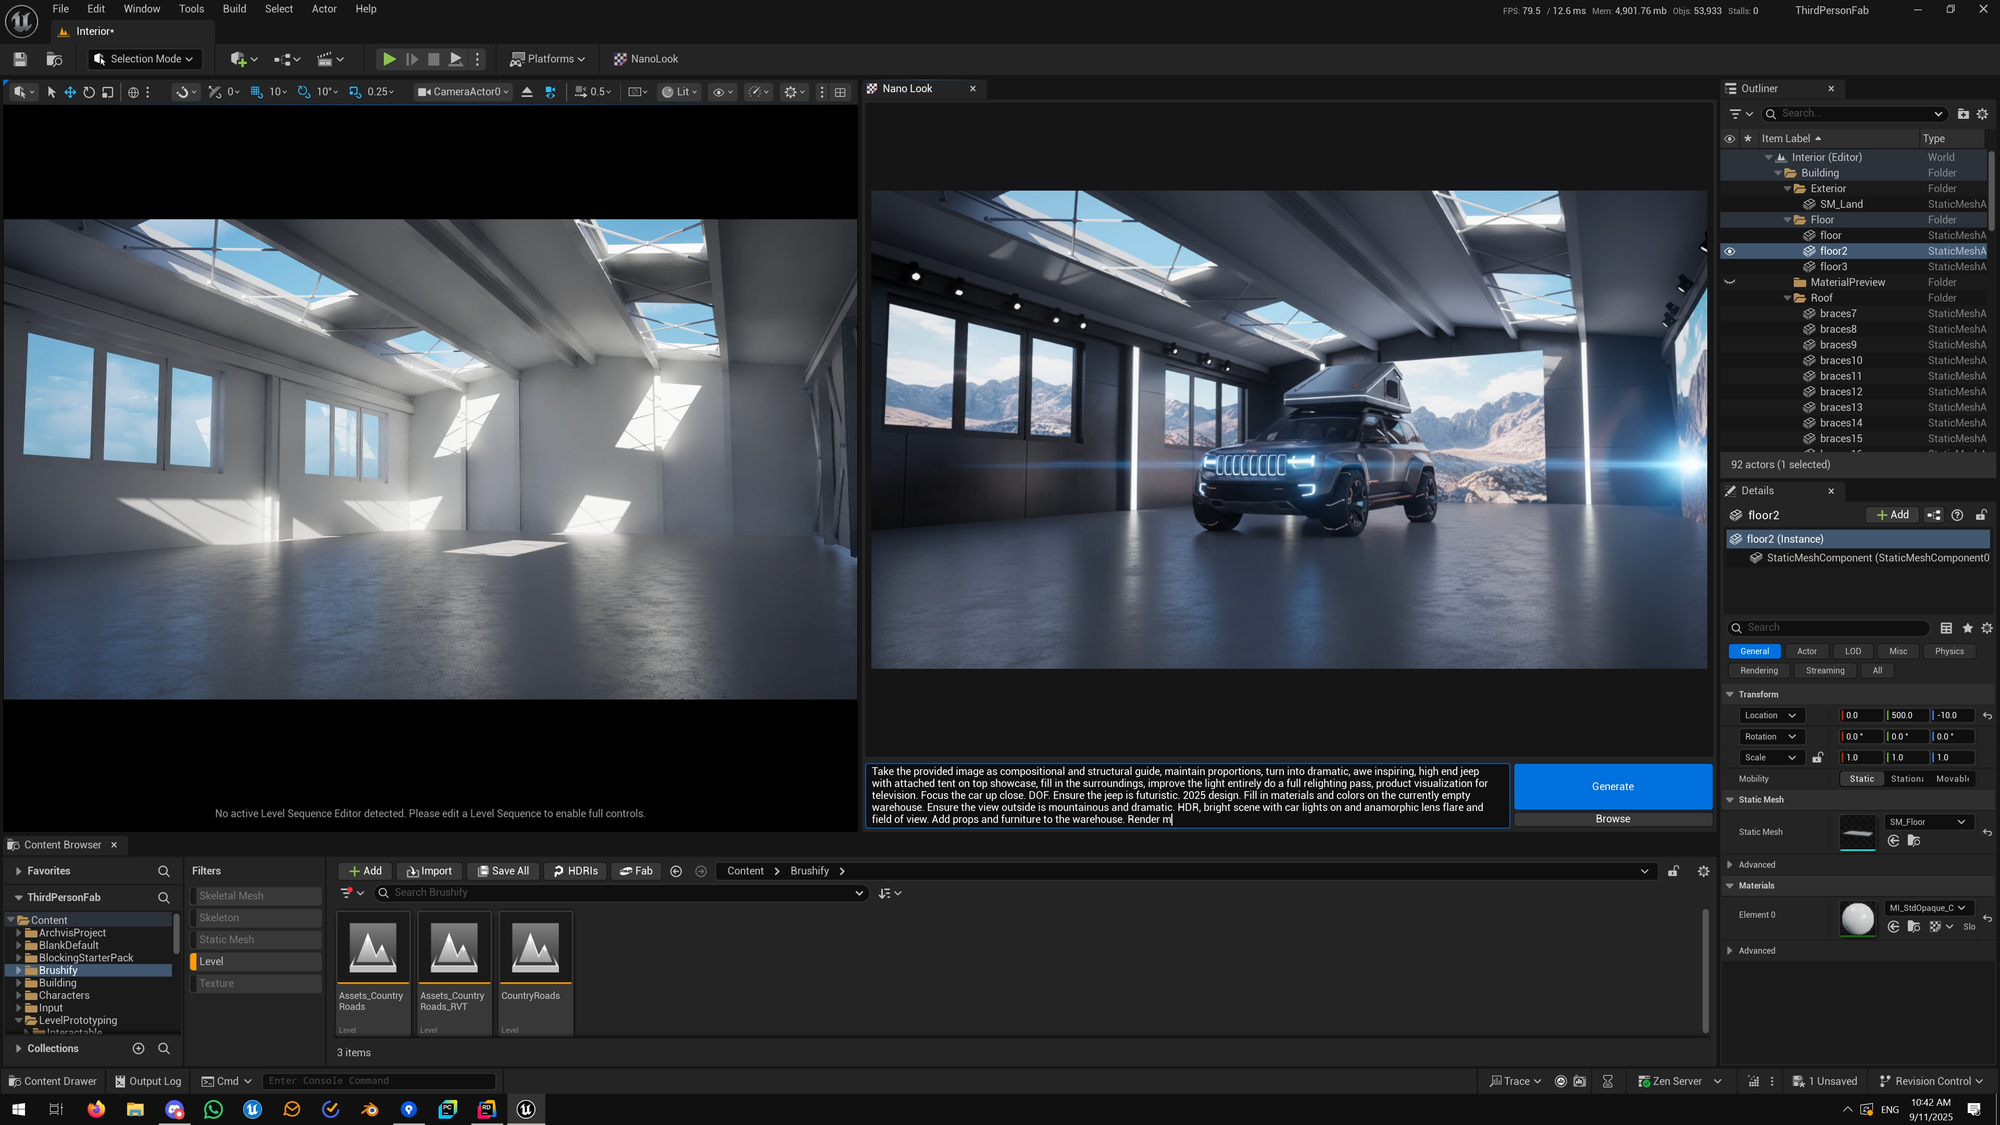
Click the NanoLook button in the Level Editor toolbar (PlayToolBar section). The panel opens as a dockable tab. Drag it anywhere in your layout and it persists across sessions.
Generate an image
- Open any level with a visible viewport and frame the shot you want to iterate on.
- Type a prompt describing the look you're after.
- Click Generate. NanoLook captures the active viewport, sends it plus your prompt to the active provider, and shows a busy state while the request is in flight.
- When the provider responds, the generated image appears in the panel.
- The result is automatically saved as a timestamped PNG to
Saved/NanoLook/(or your configured folder).
The captured viewport is sent as conditioning input, so generations follow your scene's composition rather than starting from scratch.
Switch providers
Change Active Provider in Project Settings and generate again, with no need to reopen the panel. Each provider keeps its own key and model, so switching back and forth loses nothing.
Find your saved images
Every generation is written to disk automatically. Use the Browse action in the panel (or open the configured folder directly) to reach them in your OS file explorer.